I used Apache for years, so I got spoiled by one thing: .htaccess. Upload WordPress, enable permalinks, and Apache just “gets it.”
- Why WordPress works on Apache but 404s on Nginx
- Fix: Configure Nginx rewrite rules for WordPress in aaPanel
- Step 1: Open your site settings in aaPanel
- Step 2: Paste this Nginx configuration (WordPress permalinks fix)
- Step 3: Check the PHP-FPM socket path (important)
- Step 4: Re-save WordPress permalinks (flush rules)
- Quick troubleshooting if it still shows 404
- Optional: Small performance tweaks (safe defaults)
- Final thoughts
Then I decided to move one of my sites to Nginx in aaPanel (because everyone keeps recommending Nginx for performance). The homepage loaded perfectly… but every single post and page URL showed 404 Not Found.
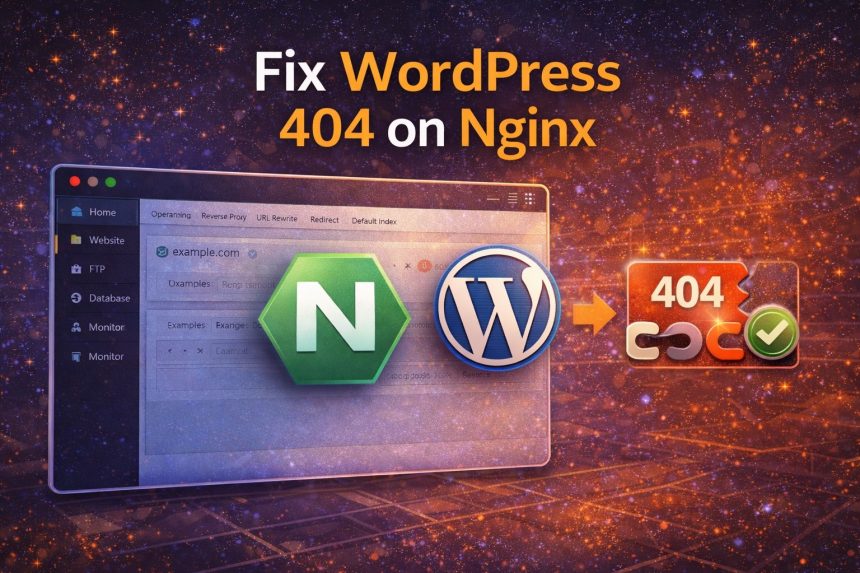
At first I thought WordPress was broken. Nope. The real issue was simple: Nginx does not use .htaccess. So if your WordPress site depends on permalinks (pretty URLs), you must add the rewrite rules in the Nginx config (aaPanel makes that easy once you know where to put it).
Why WordPress works on Apache but 404s on Nginx
WordPress “pretty permalinks” (like /how-to-fix-x/) rely on rewrite rules. On Apache, those rules usually live in .htaccess.
On Nginx, there is no .htaccess. The rewrite logic has to exist in the Nginx server block, typically with something like try_files that routes unknown URLs to index.php (so WordPress can handle them).
Fix: Configure Nginx rewrite rules for WordPress in aaPanel
In aaPanel, most things are already preconfigured. You just need to paste the correct rewrite rules in the right place.
Step 1: Open your site settings in aaPanel
- Log in to aaPanel
- Go to Website
- Find your domain and click Settings
- Open the URL Rewrite tab
If aaPanel has a “WordPress” rewrite template, you can select it. If not (or if it still 404s), paste the rules below.
Step 2: Paste this Nginx configuration (WordPress permalinks fix)
location = /favicon.ico {
    log_not_found off;
    access_log off;
}

location = /robots.txt {
    allow all;
    log_not_found off;
    access_log off;
}

location / {
    try_files $uri $uri/ /index.php?$args;
}

location ~ \.php$ {
    include fastcgi_params;
    fastcgi_intercept_errors on;
    #fastcgi_pass 127.0.0.1:9000;
    fastcgi_pass unix:/tmp/php-cgi.socket;
}

location ~* \.(js|css|png|jpg|jpeg|gif|ico)$ {
    expires max;
    log_not_found off;
}

rewrite /wp-admin$ $scheme://$host$uri/ permanent;
Click Save. In many setups aaPanel reloads Nginx automatically. If it doesn’t, reload it (there’s usually a reload button inside aaPanel’s Nginx section).
Step 3: Check the PHP-FPM socket path (important)
This is the one part that can vary. Your config uses:
fastcgi_pass unix:/tmp/php-cgi.socket;That’s common on aaPanel, but depending on your PHP version and setup, it might use a different socket path.
If you still get errors after adding the rewrite rules, check what PHP-FPM is listening on. You can confirm via SSH like this:
sudo grep -R "listen =" /www/server/php/*/etc/php-fpm.conf 2>/dev/nullThen update the fastcgi_pass line to match the socket you actually have, save, and reload Nginx.
Step 4: Re-save WordPress permalinks (flush rules)
After switching web servers, I always do this once:
- Go to WordPress Dashboard → Settings → Permalinks
- Click Save Changes (even if you don’t change anything)
Now test a few post URLs. The 404s should be gone.
Quick troubleshooting if it still shows 404
- Make sure your Nginx “location /” contains
try_files $uri $uri/ /index.php?$args; - Confirm the correct document root is set in aaPanel for that site (points to your WordPress folder)
- Check PHP is working: create a quick
phpinfo()test file (delete it after) - Reload Nginx after saving rewrite rules
- Disable caching temporarily (browser cache / plugin cache / Cloudflare) and test again
Optional: Small performance tweaks (safe defaults)
Once it’s working, you can keep the static caching block (already included above) and consider enabling gzip in Nginx globally (aaPanel usually has a toggle for it). Don’t go crazy with “random Nginx optimizations” unless you’re benchmarking—rewrite rules first, performance second.
Final thoughts
The main difference between Apache and Nginx for WordPress is this: Apache reads .htaccess, Nginx doesn’t. In aaPanel, the fix is simply adding the correct WordPress rewrite rules under URL Rewrite. Once I pasted the try_files rule, all my posts started loading normally.