I hit this problem while building a small Laravel API: sometimes I needed to stop the request and return a clean JSON error, and other times I wanted Laravel to handle it like a “real” exception (so it gets logged, reported, and formatted consistently). I kept mixing the two styles, and my responses ended up inconsistent—some were 200 with an error message, some were 500s, and debugging was a mess.
- Return vs Throw: what’s the difference?
- 1) Return a JSON error manually (best for APIs)
- 2) Use Laravel validation (recommended way)
- 3) Throw a basic exception (quick + simple)
- 4) Throw an HTTP exception with a status code
- 5) Best practice: create a custom exception and handle it globally
- 6) Bonus: throw_if and throw_unless (cleaner code)
- Common mistakes (avoid these)
- Helpful links (outbound + internal)
- Final thoughts
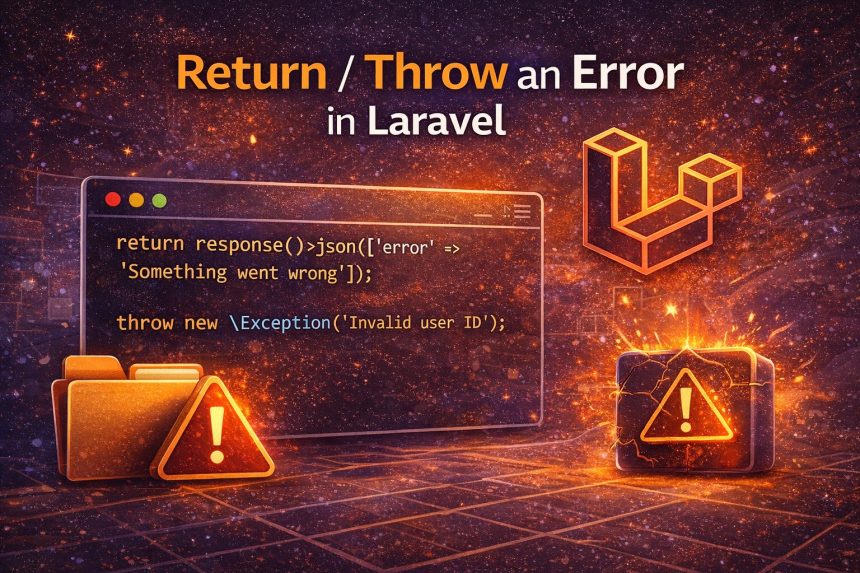
So in this guide I’ll show you exactly how to return or throw an error in Laravel the right way—when to return a response manually, when to throw an exception, and how to make both approaches look professional (especially for APIs).
Return vs Throw: what’s the difference?
Return an error when you want full control of the response (status code, payload, structure). This is common in APIs.
Throw an exception when it’s truly an exceptional case, you want centralized handling, consistent logging/reporting, and you don’t want to repeat response formatting everywhere.
Rule I follow: If it’s a “normal business rule fail” (like insufficient balance), I return an error response. If it’s an unexpected or system-level problem (or should be handled globally), I throw.
1) Return a JSON error manually (best for APIs)
This is the cleanest pattern when you control the output format (mobile apps, frontend SPA, third-party API clients).
return response()->json([
    'success' => false,
    'message' => 'Something went wrong',
], 400);
Common status codes you’ll actually use:
- 400 Bad Request (generic invalid request)
- 401 Unauthorized (not logged in)
- 403 Forbidden (no permission)
- 404 Not Found
- 422 Validation errors (very common)
- 500 Server error (avoid returning this manually unless necessary)
Return a validation-style error (422)
return response()->json([
    'message' => 'Validation failed',
    'errors' => [
        'email' => ['Email is required'],
    ],
], 422);
2) Use Laravel validation (recommended way)
If your “error” is validation-related, Laravel already gives you the best solution. It automatically returns proper responses (JSON for APIs when requested) and redirects back with errors for web forms.
$request->validate([
    'email' => ['required', 'email'],
    'password' => ['required', 'min:8'],
]);
This is my go-to because it keeps controllers clean and consistent.
3) Throw a basic exception (quick + simple)
If you want to stop execution immediately and let Laravel’s exception handling take over:
throw new \Exception('Invalid user ID');But in APIs, throwing a plain Exception can end up as a generic 500 unless you handle it. That’s why I usually prefer a more specific exception or a custom one (next section).
4) Throw an HTTP exception with a status code
Laravel (and Symfony underneath) supports HTTP exceptions so you can throw and still control the status code.
abort(403, 'You do not have permission to access this resource.');Or with a throw:
throw new \Symfony\Component\HttpKernel\Exception\HttpException(
    403,
    'Access denied'
);
5) Best practice: create a custom exception and handle it globally
This is what finally fixed my “inconsistent errors” problem. I stopped returning random arrays from random places and moved error formatting into one central location.
Step 1: Create an exception
php artisan make:exception ApiExceptionExample exception class (simple version):
<?php

namespace App\Exceptions;

use Exception;

class ApiException extends Exception
{
    public function __construct(
        public string $message = 'Something went wrong',
        public int $status = 400
    ) {
        parent::__construct($message);
    }
}
Step 2: Throw it anywhere
throw new \App\Exceptions\ApiException('Invalid user ID', 404);Step 3: Render it as JSON in one place
In Laravel 10/11 style, you can register a renderable handler (for example in bootstrap/app.php or your exception handler setup depending on version):
// Example idea (location depends on your Laravel version)
$this->renderable(function (\App\Exceptions\ApiException $e, $request) {
    if ($request->expectsJson()) {
        return response()->json([
            'success' => false,
            'message' => $e->message,
        ], $e->status);
    }
});
Now your entire API becomes consistent: you throw one exception type and always get the same JSON format.
6) Bonus: throw_if and throw_unless (cleaner code)
These helpers make business rules easy to read:
throw_if(!$user, new \App\Exceptions\ApiException('User not found', 404));

throw_unless($user->is_active, new \App\Exceptions\ApiException('Account disabled', 403));
Common mistakes (avoid these)
- Returning 200 for errors: always return proper status codes.
- Throwing generic Exception for everything: you’ll end up with random 500s unless handled.
- Mixing response formats: define one JSON shape (success/message/errors) and stick to it.
- Leaking internal messages: don’t return raw exception traces to users in production.
Helpful links (outbound + internal)
- Laravel official documentation
- Laravel validation docs
- Laravel errors & exception handling
- More tutorials on How7o
Final thoughts
If you’re building an API, returning structured JSON errors is totally fine—just keep the format consistent and use correct status codes. If you’re building a bigger app (or you want clean architecture), custom exceptions + a global renderer is the best long-term solution. That’s what finally made my Laravel error handling predictable and easy to maintain.