I used to avoid Composer in “plain PHP” projects because I thought it was only for frameworks. Then I needed a small library (a subtitle converter) for a simple PHP script and tried the old-school approach: downloading random ZIP files, copying folders around, and manually requiring files.
- What Composer does in a plain PHP project (quick explanation)
- Step 1: Make sure Composer is installed
- Step 2: Create your project folder
- Step 3: Install a Composer package (composer require)
- Step 4: Include vendor/autoload.php (this is the missing piece)
- Step 5: Use the package (real working example)
- Common mistakes (and quick fixes)
- 1) “Failed to open stream: vendor/autoload.php”
- 2) “Class not found”
- 3) “It works locally but not on the server”
- Bonus: Autoload your own PHP classes (PSR-4 style)
- Final thoughts
It worked… until it didn’t. One missing file, one wrong include path, and suddenly I was stuck in “Class not found” hell.
That’s when I switched to Composer properly—and the fix was surprisingly simple: install the package with composer require, then load vendor/autoload.php once. After that, the package works like magic in a plain PHP project.
What Composer does in a plain PHP project (quick explanation)
Composer is a dependency manager for PHP. It downloads libraries into a vendor/ folder and generates an autoloader file (vendor/autoload.php) so you don’t have to manually include every class file.
Framework or no framework—Composer works the same.
Step 1: Make sure Composer is installed
On your server or local machine, check:
composer --versionIf you see a version number, you’re good. If not, install Composer first (I usually install it globally so it’s available anywhere).
Step 2: Create your project folder
I like to start clean:
mkdir my-plain-php-project
cd my-plain-php-project
Create a basic entry file:
touch index.phpStep 3: Install a Composer package (composer require)
In your original example, the package was a subtitle converter:
composer require mantas-done/subtitlesAfter this, Composer will create (or update) these things inside your project:
composer.json(your dependency list)composer.lock(locked versions for consistent installs)vendor/directory (downloaded packages)vendor/autoload.php(the autoloader file you must include)
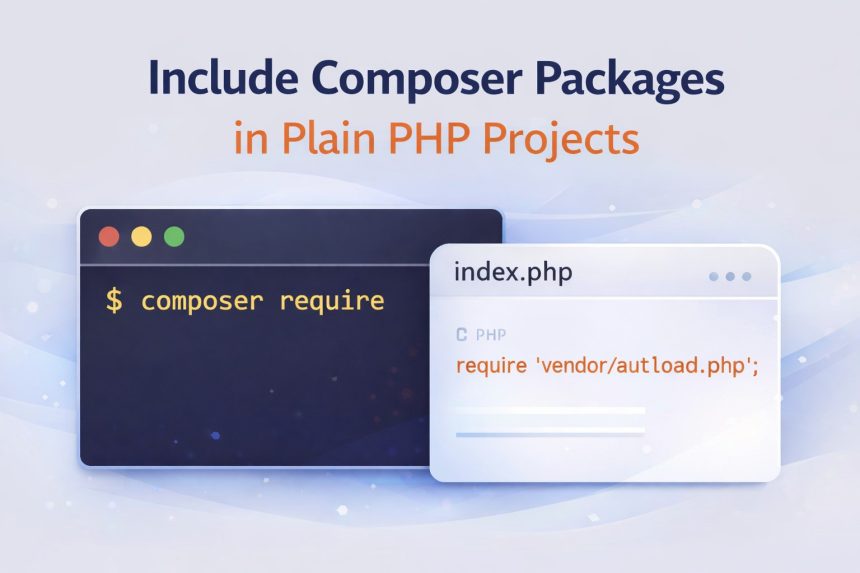
Step 4: Include vendor/autoload.php (this is the missing piece)
This is the part most people forget in plain PHP projects. If you don’t load the autoloader, PHP won’t know where the package classes live.
Open your index.php and add:
<?php
require __DIR__ . '/vendor/autoload.php';
Why I use __DIR__: it prevents path problems when your script runs from a different working directory.
Step 5: Use the package (real working example)
Now you can use the library normally. Example: convert an .srt file to .vtt:
<?php
require __DIR__ . '/vendor/autoload.php';

use Done\Subtitles\Subtitles;

// Convert subtitles.srt → subtitles.vtt
(new Subtitles())->convert('subtitles.srt', 'subtitles.vtt');

echo "Done! Converted to VTT.";
Put your subtitle file in the same folder as index.php (or use full paths), then run:
php index.phpCommon mistakes (and quick fixes)
1) “Failed to open stream: vendor/autoload.php”
- You didn’t run
composer install/composer requirein this project folder. - Your script is inside a subfolder (example:
public/index.php), so the path should be__DIR__ . '/../vendor/autoload.php'.
2) “Class not found”
- Autoloader is not included (add
require __DIR__ . '/vendor/autoload.php';). - Namespace/class name is wrong (double-check the package docs).
3) “It works locally but not on the server”
Most of the time, it’s because you uploaded your project without the vendor/ folder. Best practice is:
- Upload
composer.jsonandcomposer.lock - Then run
composer install --no-devon the server
Bonus: Autoload your own PHP classes (PSR-4 style)
Once I started using Composer, I also stopped manually requiring my own class files. Here’s the clean approach:
- Create a folder:
src/ - Put your classes in there with namespaces
- Add an autoload rule in
composer.json
Example composer.json snippet:
{
  "require": {
    "mantas-done/subtitles": "^1.0"
  },
  "autoload": {
    "psr-4": {
      "App\\": "src/"
    }
  }
}
Then regenerate the autoloader:
composer dump-autoloadNow you can use your own classes like use App\MyClass; without writing a bunch of require statements.
Final thoughts
If you remember only one thing: installing the package is not enough—you must include the autoloader. Once you add require __DIR__ . '/vendor/autoload.php'; at the top of your entry file (or a shared bootstrap.php), Composer packages work perfectly in plain PHP projects.