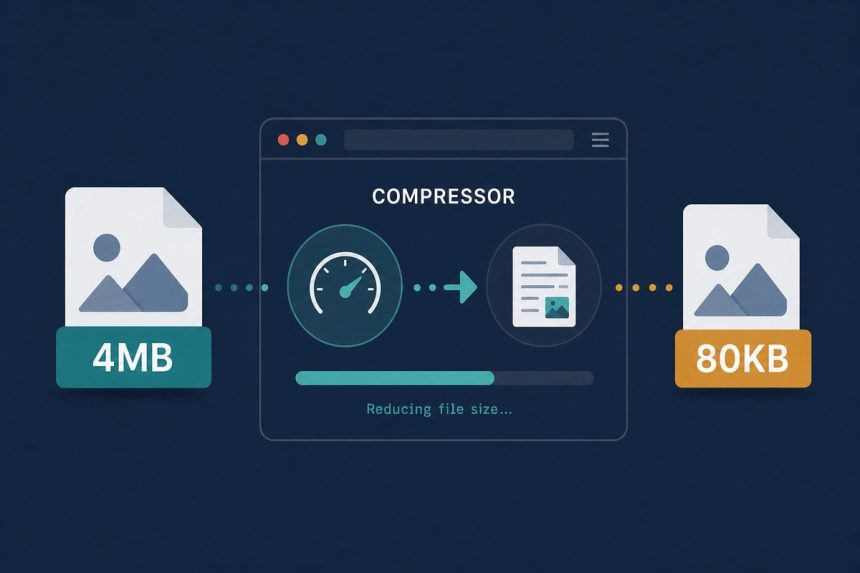
You’ve been asked to upload a JPEG and the form says “max 100KB”. Your phone took a 4 MB photo. The instinct is to screenshot it (worse), email it to yourself (no help), or open Photoshop (overkill). The right answer is a 5-second browser compress — and here’s how to do it without losing quality you’d actually notice.
TL;DR
Open how7o’s JPEG compressor, drop your photo on the page, and the tool aims for under 100KB by default while keeping the quality slider in the visually-lossless range (q72–82). Download the result. No upload, no signup. Works on any modern browser.
Why your JPEGs are so big in the first place
Phone cameras default to quality 95, which is effectively a lossless preset. Fine for printing, wildly wasteful for the web. A 12-megapixel photo at q95 lands around 3–5 MB. The same image at q78 is around 600 KB and looks identical on any screen smaller than 27 inches. Drop further to q65 and you’re at 200 KB with very faint block patterns visible if you zoom to 200%.
The other big factor is dimensions. A 4032×3024 photo uploaded to a 600px-wide blog is 99% wasted pixels. Resize and compress and you’ll routinely hit 50–80KB without anyone being able to tell.
Step-by-step in the browser tool
- Go to /compress-jpeg.
- Drag your JPEG onto the dropzone (or pick multiple — batch compress works the same way).
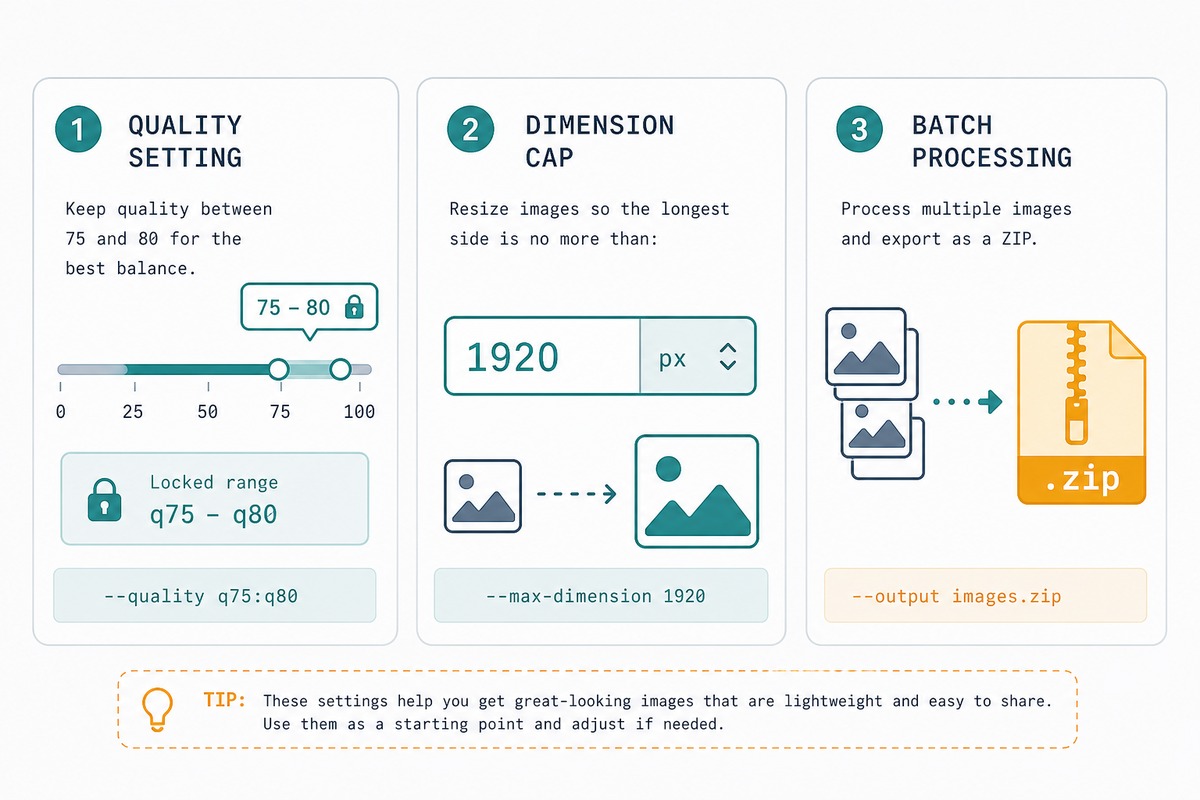
- The tool auto-targets under 100KB. To override, slide quality up for less compression or set a hard max dimension (1920px is a good ceiling for most uploads).
- Click Download. Files larger than ~25MB will pause briefly while the WebAssembly encoder catches up.
What quality setting to actually pick
Three honest rules of thumb after testing hundreds of photos:
- Photos for the web (blog, social, product listings): quality 75–80. Below 70 and skin tones start to flatten; above 85 is wasted bytes.
- Photos for email or messaging: quality 65–72. Recipients view on phones, screen sizes hide most artefacts.
- Photos for print: don’t compress past q90 — the print process amplifies small artefacts.
Troubleshooting
“The file is still over 100KB at quality 60”
Your dimensions are the problem, not the quality. A 4032×3024 image at q60 still has 12 million pixels to encode. Set a max width of 1600px in the tool — the file will drop to about 80KB without you having to push quality below 75.
“The compressed version looks blurry”
JPEG compression isn’t blur — it’s blocking. If the output is actually blurry, the tool probably resized too aggressively. Open the original at full size, the compressed version at full size, and compare. If you genuinely see softer edges on text, switch to PNG for that asset.
“It’s slow with 50+ files”
The encoder is single-threaded per file. Batches of 50–100 photos take 2–4 minutes on a recent laptop, longer on older hardware. The tab will stay responsive — leave it running. For thousands of images at a time, a desktop tool like ImageMagick or the cjpeg CLI is faster.
Not at the levels most people need. A typical 12-megapixel phone photo at JPEG quality 75 looks effectively identical to the original at quality 95 — same pixel count, same colour, same sharpness. The compression discards detail your eye couldn’t see anyway. Where it shows: hard diagonal edges (text, graphs, screenshots) — those need PNG, not JPEG.
Around quality 65 is the floor for natural photos. Below that you start seeing 8×8 block patterns in flat sky and skin areas. For graphics, charts, and text, JPEG breaks earlier — use PNG or WebP instead.
Yes, but only when you re-save it. Opening, viewing, and resending a JPEG without re-encoding does nothing. The damage comes from decoding to pixels and re-encoding — every save cycle loses a little more detail. Compress once, keep the original.
For 95% of users, yes. The mozjpeg encoder our tool uses is the same library Photoshop, ImageMagick, and Cloudinary use under the hood. The browser just runs it in WebAssembly instead of native code. Speed is within 10–15% of a native binary on modern hardware.
Related guides
- JPEG compressor — the tool used throughout this post.
- PNG compressor — for screenshots, charts, and graphics.
- JPG to WebP — 25–35% smaller than equivalent JPEG, supported in every modern browser.
- WebP to JPG — for legacy uploaders that reject WebP.
- Convert WebP to JPG — for the format that ships smaller than JPG but breaks more uploaders.
- Upscale a low-resolution image — when the source is too small for compression alone to help.
For the technical detail on what JPEG actually does to your bytes, the JPEG Wikipedia article is the canonical reference.