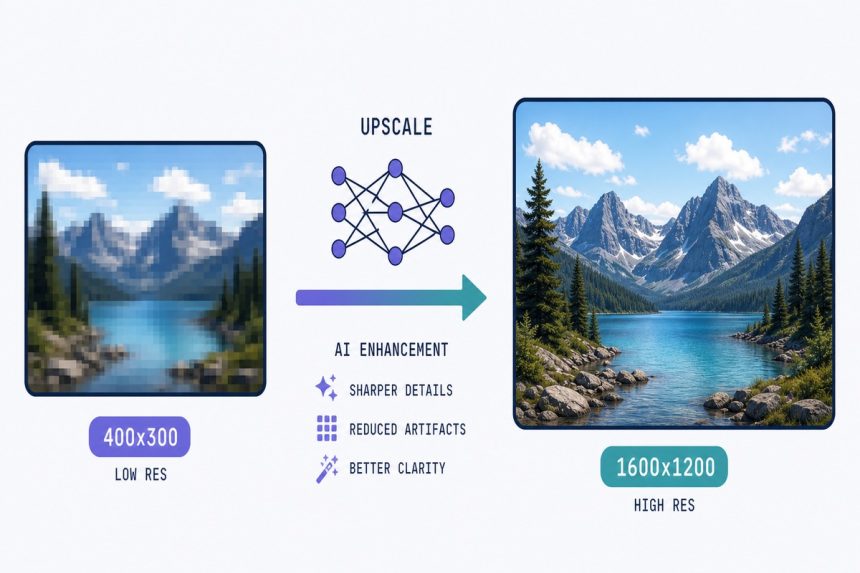
You’ve got a 400×300 picture that needs to be a 1600×1200 banner. Photoshop’s “Enlarge” makes it blurry, “Preserve Details” makes it plasticky, and the right-click “Image Size” gives you a soft mess. In 2026 the answer is AI super-resolution — a trained model that invents convincing detail at higher resolutions. Here’s how to upscale a low-resolution image for free in your browser, no Photoshop, no subscription.
TL;DR
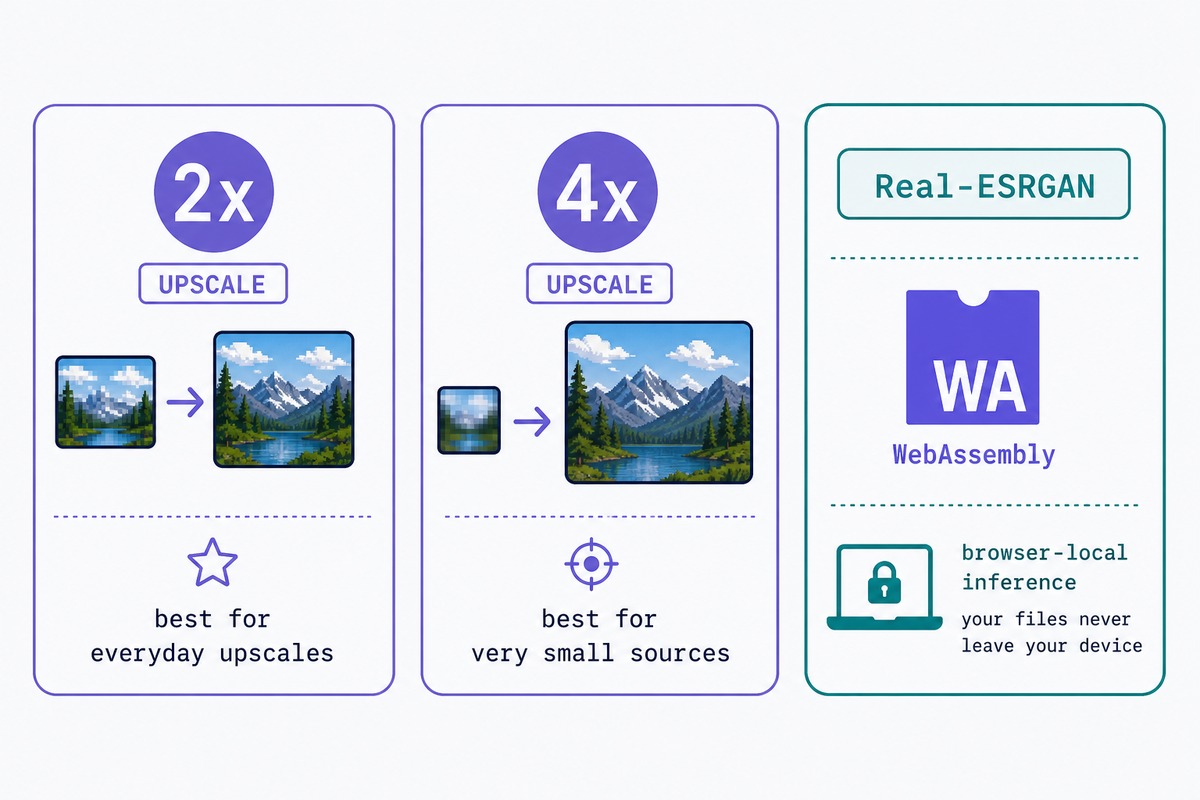
Open how7o’s image upscaler, drop your image, pick 2× or 4×, click upscale. The tool runs a Real-ESRGAN model in your browser via WebAssembly — no upload, no account, no watermark. Best results on natural photos; mixed results on text and graphics.
How AI image upscaling actually works
Traditional upscaling (bicubic, Lanczos, Mitchell) interpolates between existing pixels — the algorithm has nothing but those pixels to work with, so the extra pixels are just averaged neighbours and the result is necessarily soft.
AI upscaling trains a neural network on millions of pairs: real high-res images paired with their downsampled low-res versions. The model learns “when I see this low-res pattern, the high-res original probably had these textures and edges.” At inference time it applies that learned mapping to invent plausible detail. Real-ESRGAN — the model our tool uses — is the leading open-source implementation, with a permissive license that lets us run it client-side.
Step-by-step
- Open /image-upscaler.
- Drop your image onto the page. JPG, PNG, WebP all work.
- Pick a multiplier — 2× for most uses, 4× for very small sources.
- Click Upscale. The first run downloads the model (~64MB, cached for next time). Inference takes 5–15 seconds for a typical image on modern hardware.
- Download the result. Output is PNG by default for lossless storage of the upscaled detail; switch to JPG in the settings if you need smaller files.
Where AI upscaling helps — and where it hurts
- Natural photos: excellent. Skin, hair, foliage, fabric — all get convincing new texture.
- Old scans and analog photos: very good. The model handles grain and softness gracefully.
- Anime and illustration: use the dedicated anime model option (a Real-ESRGAN variant trained on illustrated art). The default photo model softens line work.
- Screenshots and UI: mixed. Text is the failure mode — the model can invent character shapes that look like letters but aren’t.
- Charts and infographics: avoid. Re-create from source data instead. AI upscaling will smear axes and confuse small text.
Troubleshooting
“The upscaled face looks waxy or plastic”
Real-ESRGAN’s default settings smooth skin more than they should. Toggle Skin-preserving mode in the tool — it applies a tile-based variant that keeps pore-level detail on faces. Slower but much more natural.
“My browser tab crashed on a large image”
WebAssembly memory caps at 4GB per tab. A 4000×3000 source at 4× upscale would produce a 16000×12000 image — too big for browser memory. Either downsize the source slightly first, run a 2× pass instead, or use desktop Real-ESRGAN for one-off very large jobs.
“The result has weird artefacts in corners”
The model processes images in tiles to fit in memory, and tile boundaries can show as faint seams in some content. Toggle Higher overlap in the settings — it slows processing by about 30% but eliminates visible seams in nearly every case.
For natural photos, yes — significantly. AI models trained on millions of high-res / low-res pairs can invent plausible detail that bicubic interpolation never can. For text, charts, and graphics, the result varies — sometimes AI invents fake characters or shapes. For graphics-heavy images, vector tracing is usually a better answer than AI upscaling.
2× and 4× are the sweet spots — the model was trained on those exact ratios so the output is sharpest. 3× and 8× work but go through an extra resampling pass at the end. Beyond 8× the file gets enormous (an 8× upscale of a 1080p image is 16K — 130MP) and most of the ‘detail’ is invented.
No — an upscaled image is always a best guess. For most uses (web display, presentations, even print up to A3) the result is convincing. For forensic, scientific, or legal use, an upscale is not a substitute for an original high-res capture.
Topaz uses larger models with more training data and slightly better results on hard cases — old photos, very low-res scans, faces. For everyday upscales of phone photos, the difference is small and our tool is free. Try ours first; if the result isn’t enough, the paid options exist.
Related guides
- Image upscaler — the tool above.
- JPEG compressor — the upscaled file will be large; compress to manageable size for the web.
- JPG to WebP — even better for the web than compressed JPEG.
- Image overlay — combine the upscaled image with text, watermark, or other graphics.
- Compress JPEG to under 100KB — for shrinking the upscaled image to a web-friendly size.
- Convert WebP to JPG — for converting the upscale output when WebP is the destination.
The Real-ESRGAN model and paper are at github.com/xinntao/Real-ESRGAN — the same model running in this browser tool.