To install and set up HAProxy on AlmaLinux, Rocky Linux, or RHEL (the supported successors to CentOS), install the package with dnf, edit /etc/haproxy/haproxy.cfg to define a frontend and backend, open the firewall, and start the service. The instructions below also apply to CentOS 7 with yum in place of dnf, but CentOS 7 is end-of-life — prefer Alma/Rocky 9 for new installs.
Last verified: 2026-05-17 on AlmaLinux 9 with HAProxy 2.4. Originally published 2023-10-04, rewritten and updated 2026-05-17.
Step 1 — install
# AlmaLinux / Rocky / RHEL 9
sudo dnf install haproxy -y

# CentOS 7 (legacy, EOL)
sudo yum install haproxy -y

# Confirm
haproxy -v
# HAProxy version 2.4.x ...
Step 2 — minimal config
Edit /etc/haproxy/haproxy.cfg. The default file is heavily commented; replace its frontend and backend blocks (or append) with a clear pair:
global
    log         127.0.0.1 local0
    daemon
    maxconn     4096

defaults
    log         global
    mode        http
    option      httplog
    option      dontlognull
    timeout connect 5s
    timeout client  30s
    timeout server  30s

frontend http_front
    bind *:80
    default_backend http_back

backend http_back
    balance     roundrobin
    server      web1 10.0.0.11:80 check
    server      web2 10.0.0.12:80 check

# Stats page — bind to localhost only in production
listen stats
    bind 127.0.0.1:8404
    stats enable
    stats uri /
    stats refresh 10s
    stats auth admin:CHANGE_ME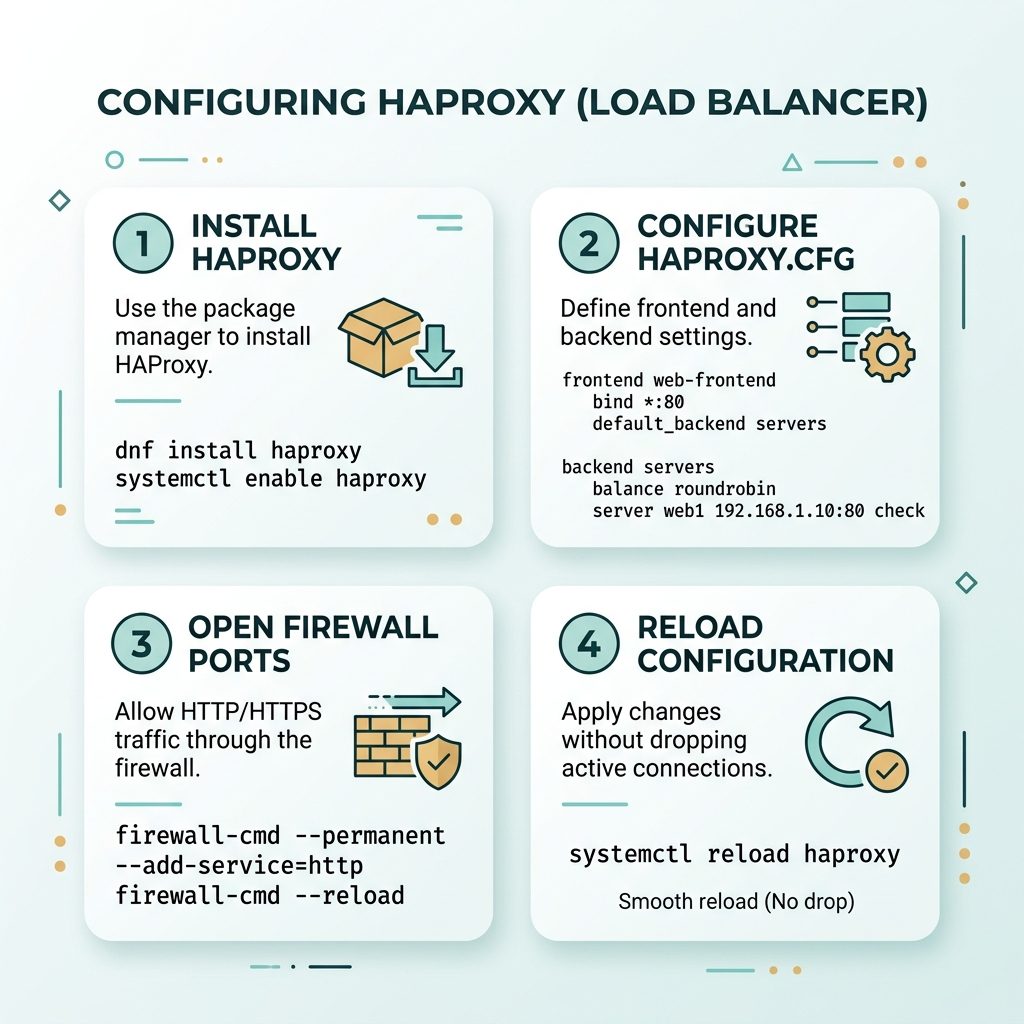
Step 3 — check config, then start
# Validate the config syntax
sudo haproxy -c -f /etc/haproxy/haproxy.cfg
# Configuration file is valid

# Enable + start
sudo systemctl enable --now haproxy

# Status
sudo systemctl status haproxy
Step 4 — open the firewall
# firewalld (default on RHEL-family)
sudo firewall-cmd --permanent --add-service=http
sudo firewall-cmd --permanent --add-service=https
sudo firewall-cmd --reload

# Confirm
sudo firewall-cmd --list-services
If SELinux is enforcing, also let HAProxy bind to non-default ports if you need them: sudo setsebool -P haproxy_connect_any 1. Standard ports 80/443 don’t need this.
Step 5 — reload without dropping connections
# After editing the config
sudo haproxy -c -f /etc/haproxy/haproxy.cfg   # validate first
sudo systemctl reload haproxy                  # zero-downtime reload
Use reload, not restart — the systemd unit performs a soft-finish handover that lets in-flight connections drain on the old process while new ones go to the new one.
Common configuration patterns
- Health checks — add
checkon each server line. HAProxy will poll the backend on port 80 (the listen port) and mark unhealthy backends as DOWN. - Sticky sessions —
cookie SERVERID insert indirect nocachein the backend, pluscookie web1on each server line. - TLS termination —
bind *:443 ssl crt /etc/haproxy/certs/site.pem. The.pembundles cert + key in one file. - Logging — point
global logat127.0.0.1 local0and addlocal0.* /var/log/haproxy.logto/etc/rsyslog.d/haproxy.conf.
Frequently asked questions
No — CentOS 7 reached end-of-life on June 30 2024. Use AlmaLinux 9, Rocky Linux 9, or RHEL 9 for new installs. The HAProxy install steps are identical (dnf replaces yum), and HAProxy 2.4+ is available in the base repos. If you’re still maintaining CentOS 7 servers, the same commands work — just plan a migration before the next major HAProxy upgrade.
Never on the public-facing port. Bind it to a non-routable address (bind 127.0.0.1:8404) or a management network, and require basic auth (stats auth admin:password). Even better, put it behind a VPN or restrict it with a firewall rule. The stats page leaks backend hostnames and load info — it’s reconnaissance gold for an attacker.
sudo systemctl reload haproxy. The HAProxy systemd unit uses -sf (“soft” finish) to hand over to the new process while letting old connections drain. Use reload, not restart — restart kills the old process immediately and drops in-flight requests.
sudo haproxy -c -f /etc/haproxy/haproxy.cfg. The -c flag runs config-check mode. If it prints “Configuration file is valid,” you’re safe to reload. A syntax error here would block the reload anyway, but catching it first saves a failed-reload alert from your monitoring.
Related guides
- How to Configure Nginx for a Subdirectory
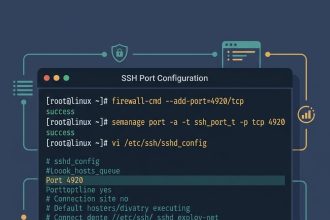
- How to Change the Default SSH Port on Linux
- How to Check the Linux OS Name and Version from the Command Line
References
HAProxy documentation: docs.haproxy.org. HAProxy configuration manual: docs.haproxy.org/2.4/configuration.html. AlmaLinux project: almalinux.org.