To pure-ftpd add user from the command line, you use the pure-pw useradd tool that ships with Pure-FTPd. The common pitfall — and probably the reason you ended up here — is the error “You must give (non-root) uid and gid”, which means the command needs a system user to map the virtual FTP user onto. This guide shows the full four-step flow that works on AlmaLinux, Rocky, RHEL 8+, Debian, and Ubuntu.
- TL;DR
- Step 1 — Pick or create the system user
- Step 2 — Add the virtual FTP user
- Step 3 — Rebuild the user database
- Step 4 — Restart Pure-FTPd
- Troubleshooting
- “You must give (non-root) uid and gid”
- Login succeeds but the user can’t see any files
- Login fails with “Sorry, you don’t have any files in this account”
- Frequently asked questions
- Related guides
- References
Last verified: 2026-05-17 on AlmaLinux 9 and Ubuntu 22.04 with Pure-FTPd 1.0.49+. Originally published 2023-01-06, rewritten and updated 2026-05-17.
TL;DR
# 1. Make sure a non-root system user exists
sudo useradd -m -s /sbin/nologin ftpuser
# 2. Add the virtual Pure-FTPd user, mapped onto that system user
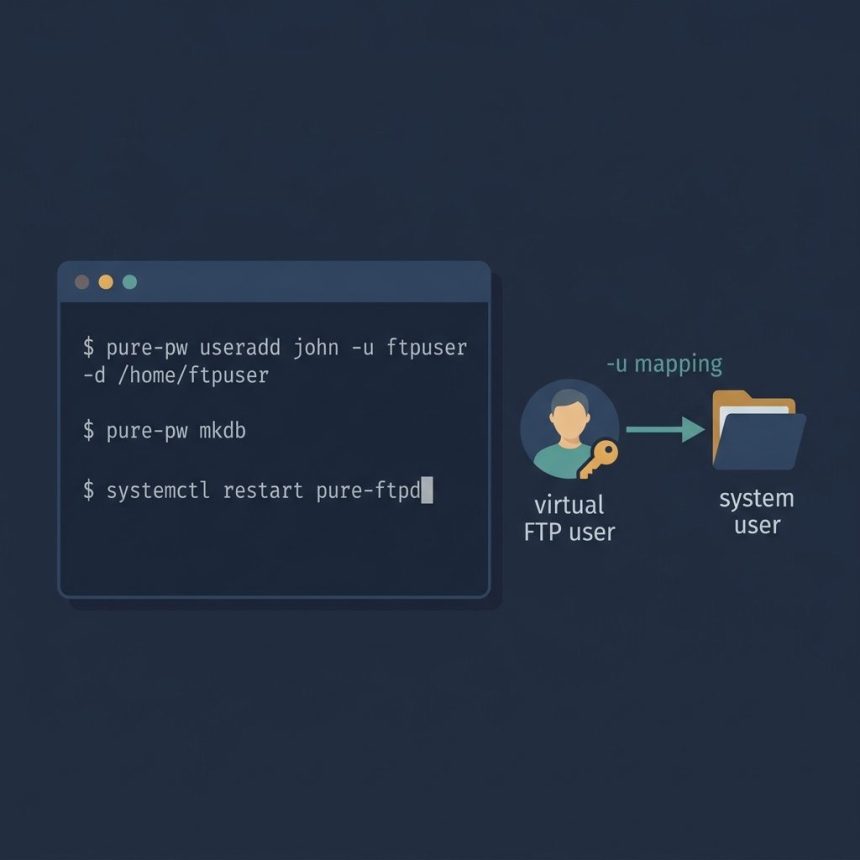
sudo pure-pw useradd john -u ftpuser -d /home/ftpuser
# 3. Rebuild Pure-FTPd's user database
sudo pure-pw mkdb
# 4. Restart Pure-FTPd
sudo systemctl restart pure-ftpdStep 1 — Pick or create the system user
Pure-FTPd uses virtual users — accounts that exist only inside Pure-FTPd’s own password database, not in /etc/passwd. But every virtual user has to be mapped onto a real system UID/GID so the kernel knows who owns the files. That’s what the “non-root uid and gid” error is telling you: you forgot the mapping.
If you don’t already have a system user dedicated to FTP, create one. The -s /sbin/nologin flag prevents anyone from logging into the system shell with this account — it’s only used as an ownership identity for FTP files.
sudo useradd -m -s /sbin/nologin ftpuserStep 2 — Add the virtual FTP user
Now create the Pure-FTPd user with pure-pw useradd. The -u flag maps the virtual user onto the system user from step 1, and -d sets the FTP home directory:
sudo pure-pw useradd john -u ftpuser -d /home/ftpuserYou’ll be prompted twice for a password. After confirming, Pure-FTPd writes the new user to its plaintext database (typically /etc/pure-ftpd/pureftpd.passwd).
On some distros (notably Debian/Ubuntu builds where the system group of ftpuser doesn’t match the username) Pure-FTPd will also require the -g flag:
sudo pure-pw useradd john -u ftpuser -g ftpuser -d /home/ftpuser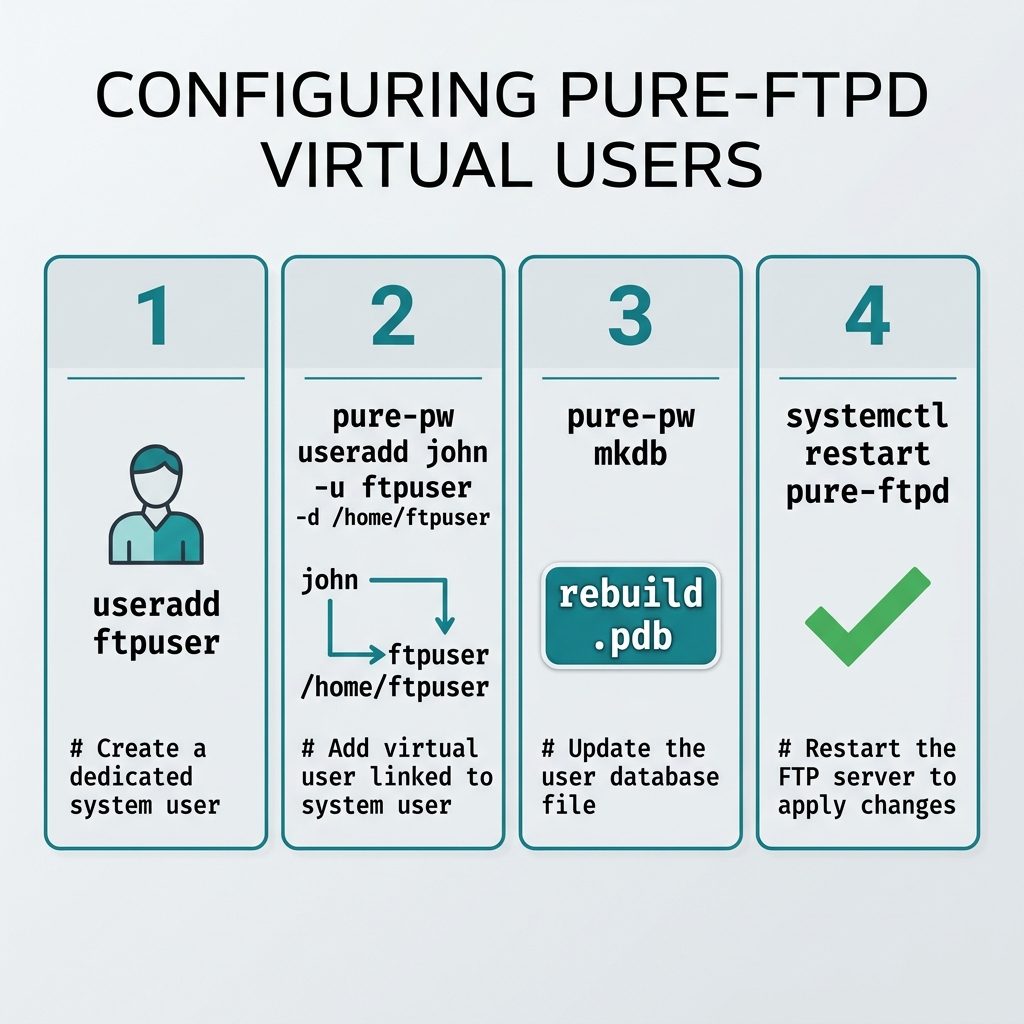
Step 3 — Rebuild the user database
Pure-FTPd doesn’t read the plaintext passwd file directly — it serves logins from a compiled binary database, pureftpd.pdb. The pure-pw mkdb command rebuilds that database from the plaintext file:
sudo pure-pw mkdbRun this every time you add, edit, or delete a user. Skip it and the new login won’t work, even though the user shows up in pure-pw list.
Step 4 — Restart Pure-FTPd
sudo systemctl restart pure-ftpdStrictly, restarting isn’t required just for adding a user — pure-pw mkdb is enough. But a clean restart is a good habit when you’ve also edited the Pure-FTPd config files alongside the user change, since it forces the daemon to reload its settings.
Try the new account from any FTP client:
ftp your.server.example
# Name: john
# Password: (the password you set in step 2)
Troubleshooting
“You must give (non-root) uid and gid”
You forgot the -u flag, or the system user you passed doesn’t exist. Pure-FTPd refuses to back a virtual user with root (UID 0) because that would let any FTP login write anywhere on the filesystem. Use a regular system user (id ftpuser should resolve to a non-zero UID).
Login succeeds but the user can’t see any files
The home directory passed to -d must exist and be readable/writable by the system user from step 1. Check ownership:
sudo chown -R ftpuser:ftpuser /home/ftpuserLogin fails with “Sorry, you don’t have any files in this account”
You skipped pure-pw mkdb. Run it and try again — Pure-FTPd needs the compiled .pdb file to be up to date.
Frequently asked questions
pure-pw useradd say You must give (non-root) uid and gid? Because Pure-FTPd refuses to back virtual FTP users with the root account — that would let any FTP login write anywhere on the filesystem. The -u flag tells pure-pw which non-root system user owns the FTP user’s files; without it, the command bails out with that error. The fix is to pass -u somesystemuser (a regular user that already exists on the box) and, if your distro requires it, -g somesystemgroup as well.
Pure-FTPd uses virtual users — they exist only in Pure-FTPd’s own database (pureftpd.passwd / pureftpd.pdb), not in /etc/passwd. Each virtual user is mapped onto a real system UID/GID that owns the files on disk. So you can have ten FTP usernames (alice, bob, carol…) all writing as a single system user like ftpuser, with permissions and quotas enforced per FTP login.
pure-pw mkdb every time I add a user? Yes. pure-pw useradd only writes the human-readable pureftpd.passwd file. Pure-FTPd serves logins from the compiled pureftpd.pdb database, which pure-pw mkdb rebuilds from the passwd file. Skip this step and new users simply won’t be able to log in.
Use the same pure-pw tool. pure-pw list shows all virtual users, pure-pw passwd john changes a password (followed by pure-pw mkdb), and pure-pw userdel john removes a user. Every change to the passwd file requires a pure-pw mkdb afterwards for Pure-FTPd to see it.
Strictly, no — pure-pw mkdb updates the database Pure-FTPd reads on each login, so new logins pick up the change immediately. The restart in this guide is defensive: it forces Pure-FTPd to re-read its configuration too, which is useful when you’ve also edited /etc/pure-ftpd/conf/* alongside the user change.
Related guides
- How to Install Docker on AlmaLinux
- Change the SSH Welcome Message on an Ubuntu VPS
- Update Ubuntu to the Latest Kernel Version
References
Pure-FTPd documentation: pureftpd.org/project/pure-ftpd/doc. pure-pw manual page: man pure-pw on any system with Pure-FTPd installed.