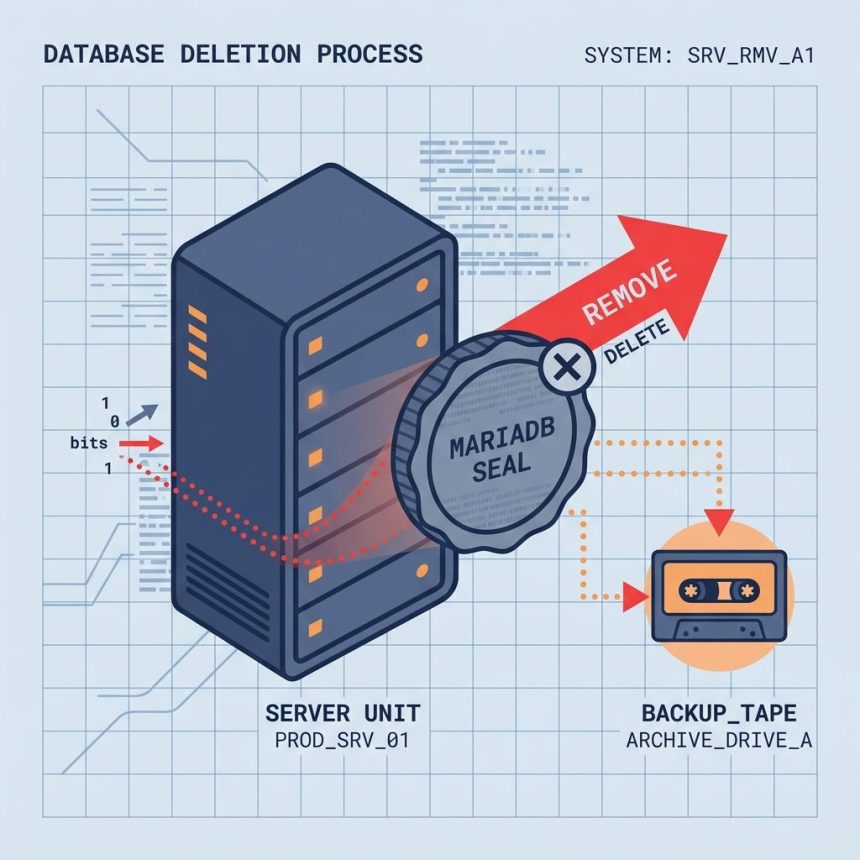
To completely remove MariaDB from RHEL, AlmaLinux, Rocky, or CentOS, stop the service, uninstall the packages, then delete the data directory and config file. After that you can either reinstall fresh or move on. Back up your databases first — the data-directory delete is destructive.
Last verified: 2026-05-17 on AlmaLinux 9 and CentOS 7. Originally published 2022-12-06, rewritten and updated 2026-05-17.
Back up first (do not skip)
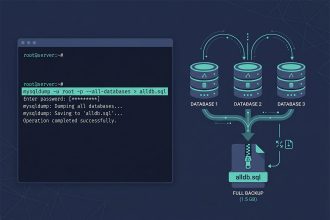
# If MariaDB still starts, take a logical dump
sudo mysqldump --all-databases --routines --events \
    | gzip > /root/mariadb-dump-$(date +%F).sql.gz

# Always take a raw snapshot of the data dir + config
sudo tar czf /root/mariadb-files-$(date +%F).tgz \
    /var/lib/mysql /etc/my.cnf /etc/my.cnf.d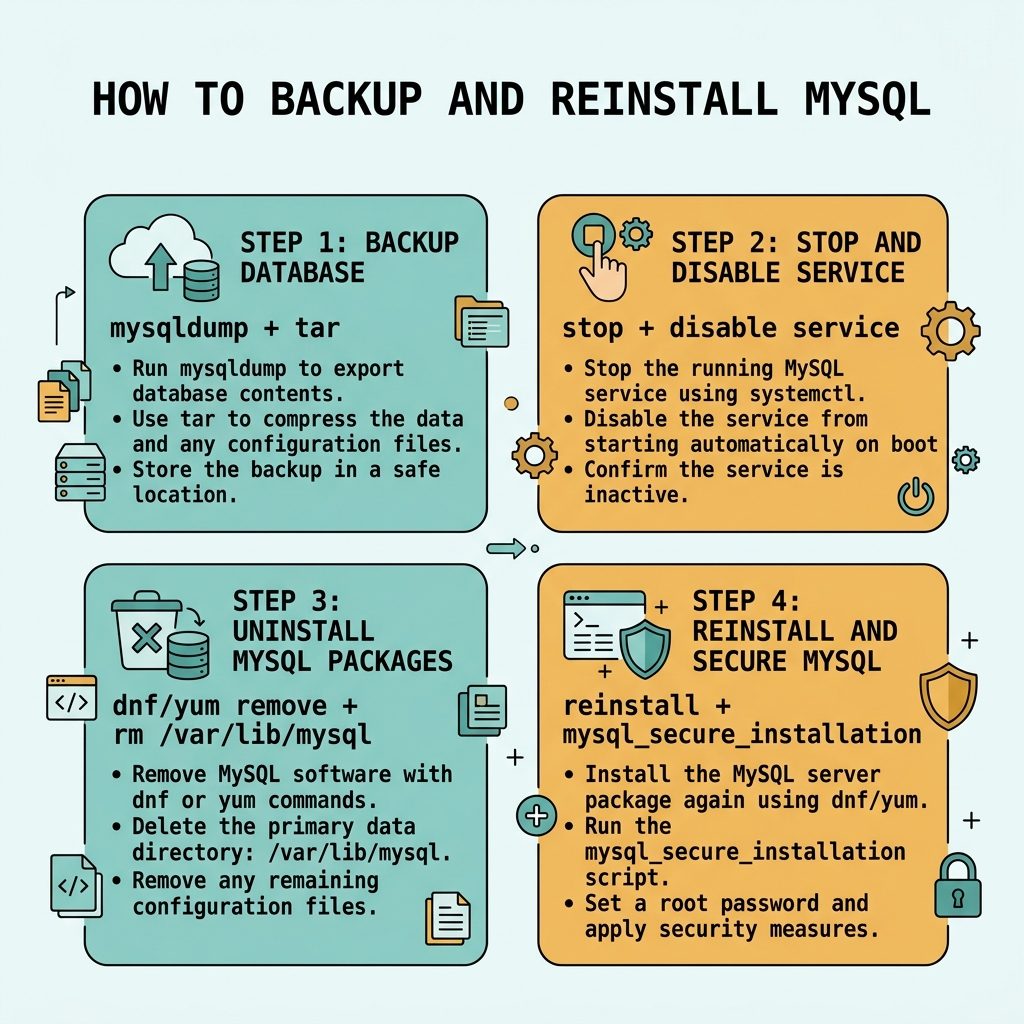
Stop the service
sudo systemctl stop mariadb
sudo systemctl disable mariadb
Uninstall the packages
# AlmaLinux / Rocky / RHEL 8 and 9
sudo dnf remove mariadb mariadb-server -y

# CentOS 7 (legacy / EOL)
sudo yum remove mariadb mariadb-server -y
This removes binaries, scripts, and any package-managed config under /etc/my.cnf.d/. It does not remove your data directory or any /etc/my.cnf you wrote manually — those steps come next.
Delete the data directory
# Default location
sudo rm -rf /var/lib/mysql

# If you set datadir to a different path in my.cnf, use that path
Every database, every user, every grant lives here. Skipping this step is the right move if you want to keep the data and just reinstall the binaries — but for a true clean slate, this directory has to go.
Delete config files
sudo rm -f /etc/my.cnf
sudo rm -f ~/.my.cnf
sudo rm -rf /etc/my.cnf.d
/etc/my.cnf may already be gone after package removal; ~/.my.cnf (root’s client credentials) often survives and is worth cleaning up.
Reinstall (optional)
# RHEL-family 8/9
sudo dnf install mariadb mariadb-server -y
sudo systemctl enable --now mariadb
sudo mysql_secure_installation

# CentOS 7
sudo yum install mariadb mariadb-server -y
sudo systemctl enable --now mariadb
sudo mysql_secure_installation
mysql_secure_installation walks through setting the root password, removing the anonymous user, and disabling remote root login. Do this immediately after install.
Restore data (if you backed up earlier)
# From a logical dump
gunzip < /root/mariadb-dump-2026-05-17.sql.gz | sudo mysql

# Verify
sudo mysql -e 'SHOW DATABASES;'
Frequently asked questions
/var/lib/mysql destructive? Yes — that directory contains every database, user, and grant on the server. Back it up first: sudo tar czf /root/mysql-backup-$(date +%F).tgz /var/lib/mysql /etc/my.cnf before deleting. If you only want to repair a corrupted install, try innodb_force_recovery mode first; full wipe is a last resort.
yum remove and dnf remove? yum is the legacy command on CentOS 7 (now EOL); dnf is the modern replacement used on AlmaLinux/Rocky/RHEL 8 and 9. They take the same arguments for basic install/remove operations. On RHEL 8+, yum is a symlink to dnf, so either works.
Almost — the steps remove the binaries, data, and config files. SELinux file contexts attached to /var/lib/mysql go with the directory; if you reinstall, the package’s %post scriptlets restore them. If you ever see permission denied from MariaDB after a reinstall, run sudo restorecon -R /var/lib/mysql to reset SELinux contexts.
Yes — stop and disable first so any in-progress writes finish cleanly and nothing tries to restart the service during removal: sudo systemctl stop mariadb; sudo systemctl disable mariadb. Some package builds do this automatically during remove, but doing it explicitly is the safer order.
Related guides
- How to Troubleshoot MariaDB Not Starting
- How to Restart the MariaDB Server
- How to Install MySQL on Ubuntu
References
MariaDB Knowledge Base: mariadb.com/kb/en. AlmaLinux project: almalinux.org. CentOS end-of-life notice: redhat.com/en/topics/linux/centos-linux-eol.