To install the Apache web server on Ubuntu, run sudo apt install apache2, open port 80 in the UFW firewall, and verify with systemctl status apache2. After that, set up virtual hosts under /etc/apache2/sites-available/ to serve multiple domains from the same server.
Last verified: 2026-05-17 on Ubuntu 22.04 with Apache 2.4. Originally published 2023-03-09, rewritten and updated 2026-05-17.
Prerequisites
- An Ubuntu server (22.04 LTS or 24.04 LTS recommended).
- A non-root user with
sudoprivileges. - UFW firewall enabled (
sudo ufw enableif you haven’t already).
Step 1: Install Apache
sudo apt update
sudo apt install apache2 -y
The apache2 package installs the server, the systemd unit, and a default site under /var/www/html. It also enables and starts the service automatically.

Step 2: Open the firewall
sudo ufw app listThis lists Apache’s UFW profiles:
- Apache — opens port 80 (HTTP only).
- Apache Full — opens 80 and 443 (HTTP + HTTPS).
- Apache Secure — opens only 443 (HTTPS).
sudo ufw allow 'Apache'
sudo ufw status
Switch to 'Apache Full' after you set up TLS with Certbot.
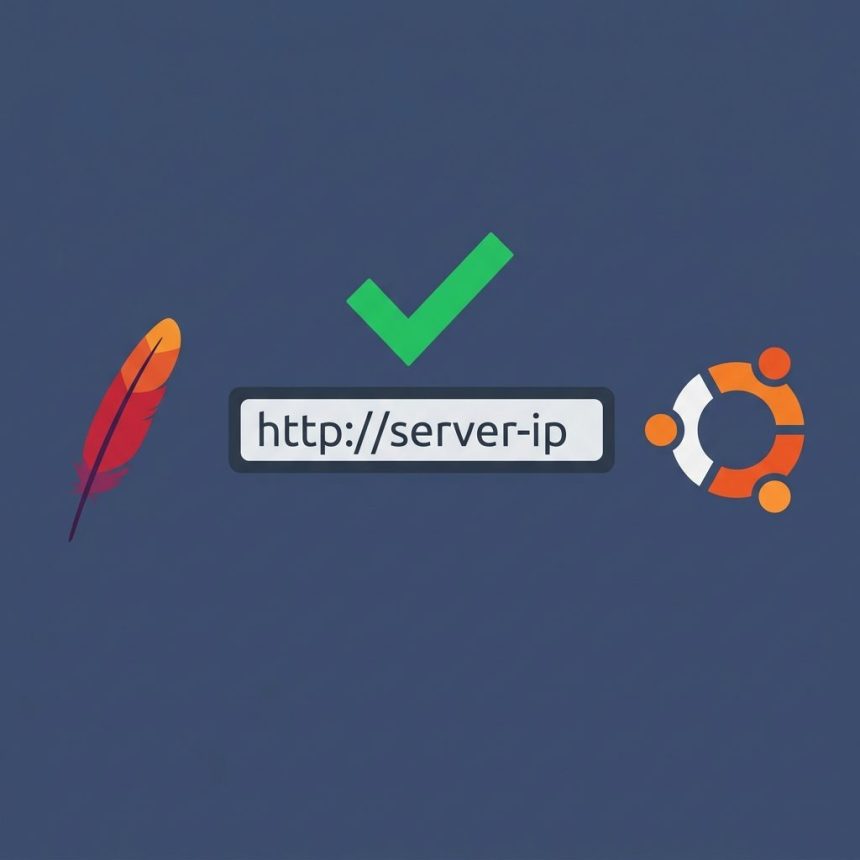
Step 3: Verify Apache is running
sudo systemctl status apache2The output should show active (running). Then visit the server’s IP in a browser:
# Find your server's IP
hostname -I              # LAN/internal addresses
curl -4 icanhazip.com    # public address as seen from the internet

# Then in a browser
http://your_server_ip
You should see the “Apache2 Ubuntu Default Page” — that confirms Apache is serving requests.
Step 4: Set up a virtual host
Virtual hosts let one Apache instance serve many domains. For a domain example.com:
# 1. Create the document root
sudo mkdir -p /var/www/example.com

# 2. Hand it to your user (so you can edit without sudo)
sudo chown -R $USER:$USER /var/www/example.com

# 3. Make sure it's readable by the web server group too
sudo chmod -R 755 /var/www/example.com

# 4. A sample index file
sudo tee /var/www/example.com/index.html >/dev/null <<'HTML'
<html>
  <head><title>Welcome to example.com</title></head>
  <body><h1>example.com is live</h1></body>
</html>
HTML

# 5. Create the virtual host config
sudo nano /etc/apache2/sites-available/example.com.conf
Paste this:
<VirtualHost *:80>
    ServerAdmin [email protected]
    ServerName example.com
    ServerAlias www.example.com
    DocumentRoot /var/www/example.com

    ErrorLog ${APACHE_LOG_DIR}/example.com-error.log
    CustomLog ${APACHE_LOG_DIR}/example.com-access.log combined
</VirtualHost>
# 6. Enable the new site
sudo a2ensite example.com.conf
# 7. Disable the catch-all default
sudo a2dissite 000-default.conf
# 8. Test the config
sudo apache2ctl configtest
# Syntax OK
# 9. Reload (no dropped connections)
sudo systemctl reload apache2The site is now served — make sure your domain’s DNS A record points at the server before you hit http://example.com in a browser.
Managing Apache with systemctl
sudo systemctl start apache2       # start
sudo systemctl stop apache2        # stop
sudo systemctl restart apache2     # hard restart
sudo systemctl reload apache2      # graceful reload (preferred for config changes)
sudo systemctl enable apache2      # start at boot
sudo systemctl disable apache2     # don't start at boot
Where Apache puts its files
/var/www/html— default document root. Most setups serve from per-site directories like/var/www/example.cominstead./etc/apache2/apache2.conf— main config. Loads everything else./etc/apache2/ports.conf— defines which ports Apache binds to (defaults 80 and 443)./etc/apache2/sites-available/— every virtual host’s config lives here. Files become “active” when symlinked intosites-enabled/bya2ensite./etc/apache2/mods-available/andmods-enabled/— Apache modules; toggle witha2enmod/a2dismod./etc/apache2/conf-available/andconf-enabled/— config snippets that aren’t tied to a single virtual host (PHP setup, security headers); toggle witha2enconf/a2disconf./var/log/apache2/access.log— every request./var/log/apache2/error.log— every error.
Next steps
- Add HTTPS — install Certbot (
sudo apt install certbot python3-certbot-apache) and runsudo certbot --apache -d example.com. - Install PHP —
sudo apt install php libapache2-mod-phpfor mod_php, orphp-fpmfor the more modern FastCGI setup. - Switch the open ports —
sudo ufw delete allow 'Apache'thensudo ufw allow 'Apache Full'once HTTPS is live.
Frequently asked questions
Both serve static and dynamic content competently. Apache’s .htaccess per-directory config makes it the friendlier choice when you can’t always touch the main config (shared hosting, WordPress sites maintained by non-admins). Nginx tends to be lighter under heavy concurrency. For a single VPS hosting a few sites, the difference rarely matters — pick what you know.
systemctl restart and systemctl reload? restart stops Apache fully and starts it again — every connection dies. reload tells Apache to re-read its config without dropping connections; in-flight requests complete and new ones use the new config. Use reload for config changes; restart only when you’ve installed a new module or hit a state issue.
/var/www/html served before my virtual host? Apache reads sites alphabetically. 000-default.conf sorts before any name you give your site, so without a2dissite 000-default.conf the default catches every request that doesn’t match a more specific ServerName. Disable the default once your virtual host is working.
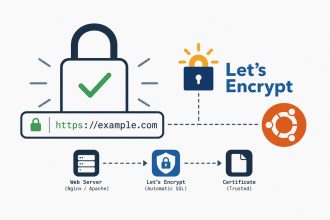
Install Certbot — sudo apt install certbot python3-certbot-apache — then sudo certbot --apache -d example.com -d www.example.com. Certbot reads your existing virtual host, requests a Let’s Encrypt certificate, writes a new example.com-le-ssl.conf file with the SSL config, and sets up auto-renewal. You’ll also want sudo ufw allow 'Apache Full' instead of plain 'Apache' to open 443.
Related guides
- How to Install PHP on Ubuntu
- How to Install MySQL on Ubuntu
- How to Configure Nginx for a Subdirectory
References
Apache HTTP Server documentation: httpd.apache.org/docs/2.4. Ubuntu Apache documentation: ubuntu.com/server/docs/web-servers-apache. Let’s Encrypt with Certbot: certbot.eff.org/instructions.